Introduction: Why a Detailed Xreal One Teardown Matters
In this Xreal One teardown, we aim to uncover the device’s core design choices and engineering logic. From a technical point of view, understanding how the display module, circuit layout, and optical system are integrated offers valuable insights into compact AR design. Keywords like Xreal One internal, PCB layout, and parts list guide our focus on internal structure, teardown step by step, and internal components teardown.
Xreal One Teardown Step by Step
Here’s a detailed breakdown of how to teardown Xreal One safely, supported by observations of internal structure and key engineering layers:
- Initial Preparation
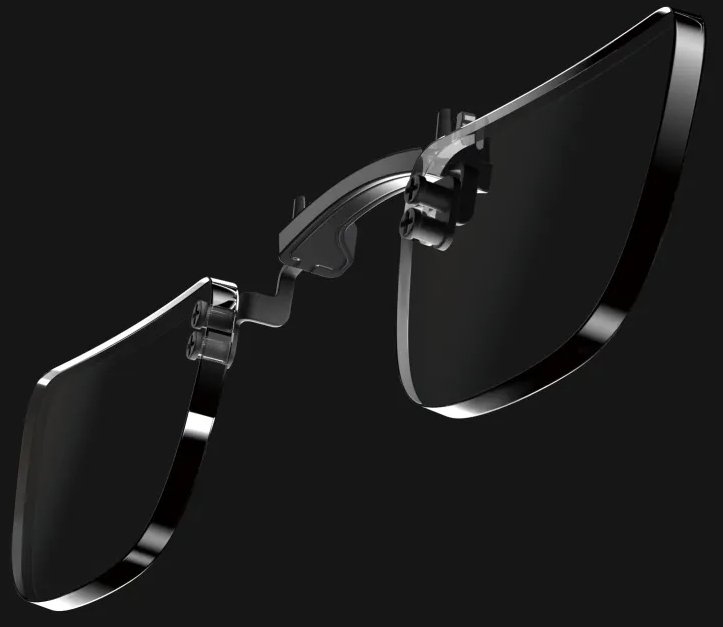
Power off the device and remove any connected USB-C cables. Detach the magnetic clip-on lens shield. This exposes hidden screw points under the nose pad and hinge. - Open the Temples
Use a plastic spudger to gently pop open the temple covers. Unscrew the T3 fasteners inside each temple. This reveals internal speaker wires and the USB-C line. - Disconnect Components
Carefully unplug the speaker and USB-C ribbon cables from the mainboard. Use tweezers gently to avoid damaging the connectors or traces—crucial for preserving the Xreal One PCB layout. - Lens Housing Separation
Apply low heat (about 60°C) to loosen the adhesive around the lens unit. Then gently pry off the front lens shell to expose the OLED module, polarizer, and optical structure. - Optical Module Removal
Next, unclip the optics frame and remove each component in order: reflective mirror → light-guide tunnel → projection lens. These steps clearly show what’s inside Xreal One. - Access the Mainboard
Remove the brow cover to expose the 4-layer PCB. Unscrew any grounding or shielding clips. The board includes key chips for video decoding, power management, and audio output.
Xreal One Internal Structure Analysis
This section explains how does Xreal One work inside, based on component-level observation:
- Micro-OLED Engine: A 0.55″ Sony 1080p display module projecting sharp, low-latency visuals.
- Optics Layout: Birdbath-style lens system folds the projection path within 20mm depth.
- Audio Chambers: Directional drivers mounted inside temples, acoustically tuned via open slots.
- Connectivity Routing: The USB-C connector links through a flex PCB that wraps around the right temple into the mainboard.
Each piece is placed with minimal tolerance to ensure slimness, demonstrating highly optimized Xreal One internal structure.
Xreal One Material and Component Overview
| Component | Material / Specs | Function |
|---|---|---|
| Micro-OLED Panel | Sony 0.55″ 1080p OLED | Core display system |
| Optical Mirror | Polycarbonate (PC), coated surface | Reflects image to eye |
| USB-C Port | PCB-mounted, Type-C with DP Alt | Power and video input |
| Temple Speakers | ABS frame, Mylar diaphragm | Open-ear directional sound |
| PCB Board | 4-layer FR-4, surface-mount ICs | Hosts video, audio, and power ICs |
| Frame Housing | Dual-shot injection (PC + ABS) | Lightweight, rigid shell |
This forms the essential Xreal One parts list, also referred to as BOM (Bill of Materials).
Xreal One Engineering Highlights and Weaknesses
What Works Well
- Compact design: Slim and efficient Xreal One internal components teardown shows high integration.
- Thermal layout: Heat is managed via the extended temple structure.
- Plug-and-play usability: Zero setup friction for the end-user.
What Needs Work
- Repairability: Glued components and tight layout make service difficult.
- Lens vulnerability: Optical combiner can crack if dropped.
- Non-upgradable: Modules are not modular or swappable.
Potential Improvements Based on the Xreal One Teardown
- Modular Optical Assembly
Enable OLED and lens units to be replaceable without full disassembly. - Reinforced Lens Housing
Add an internal frame or rubber gasket around the mirror block. - Better Speaker Isolation
Improve bass clarity and reduce temple vibration with damping inserts. - Screw-Based Fastening
Use fine-thread screws in place of glue for key joints to ease servicing.
Conclusion & Technical Takeaways from the Xreal One Teardown
This Xreal One teardown offers a full look at its internal structure, PCB layout, optics, and design trade-offs. While not built for repair, the device is a masterclass in compact AR hardware architecture. Developers and product designers can learn how to balance form, function, and manufacturability.
If you’re planning to build a better version, or want free design and tooling assistance, WokooDesign is ready to help. Whether prototyping or scaling mass production, we handle teardown-to-tooling full stack services.
👉 Learn more at Smart AR Glasses Design & Development Services — WokooDesign can turn teardown insights into your next best product.
Explore More Xreal One Insights:
- Xreal One Review: Pros, Cons & Customer Feedback
- Xreal One Engineering Analysis: Optics, PCB & Layout Strategy
- Xreal One Case Study: How We Would Redesign It for ODM Clients
- Xreal One Manufacturing Solution: Tooling, Materials, and Process Flow
Note: We have already performed a full teardown of this product. Currently, only the written analysis is published on our website. If you require detailed teardown images or step-by-step videos, please contact us directly—we’ll be happy to provide additional materials upon request.

